The Google Sheets spreadsheet tool has plenty to praise: It’s free,friendly for Android devices, and easily shareable for collaborative work. New users may be wondering just how similar it is to Excel – and the good news is that there are plenty of things in common, including certain technical tricks you may be used to. Sheets is basically a cloud-based, more robust web version of Excel.
That brings us to VLOOKUP, a very common function in Excel that’s used to parse large directories of data. VLOOKUP still works in Sheets, although it’s slightly different. Our guide will give you the basics to apply the formula to what you’re working on.
What is VLOOKUP, and why might you need it?
VLOOKUP is a valuable search function when you are handling a lot of directory-like data and need to quickly find specific data sets ororganize it in a certain way. Google’s own diagram below uses the price and quantity of fruits as an example, but you can see how the formula can be applied to all kinds of complicated databases.
That includes employee directories with ID numbers, salaries, and other information, or databases of customers and students.

Bottom line: If your Sheet is organized in rows, VLOOKUP can be a valuable tool, especially if it reaches hundreds or thousands of entries.
How to Use VLOOKUP in Google Sheets
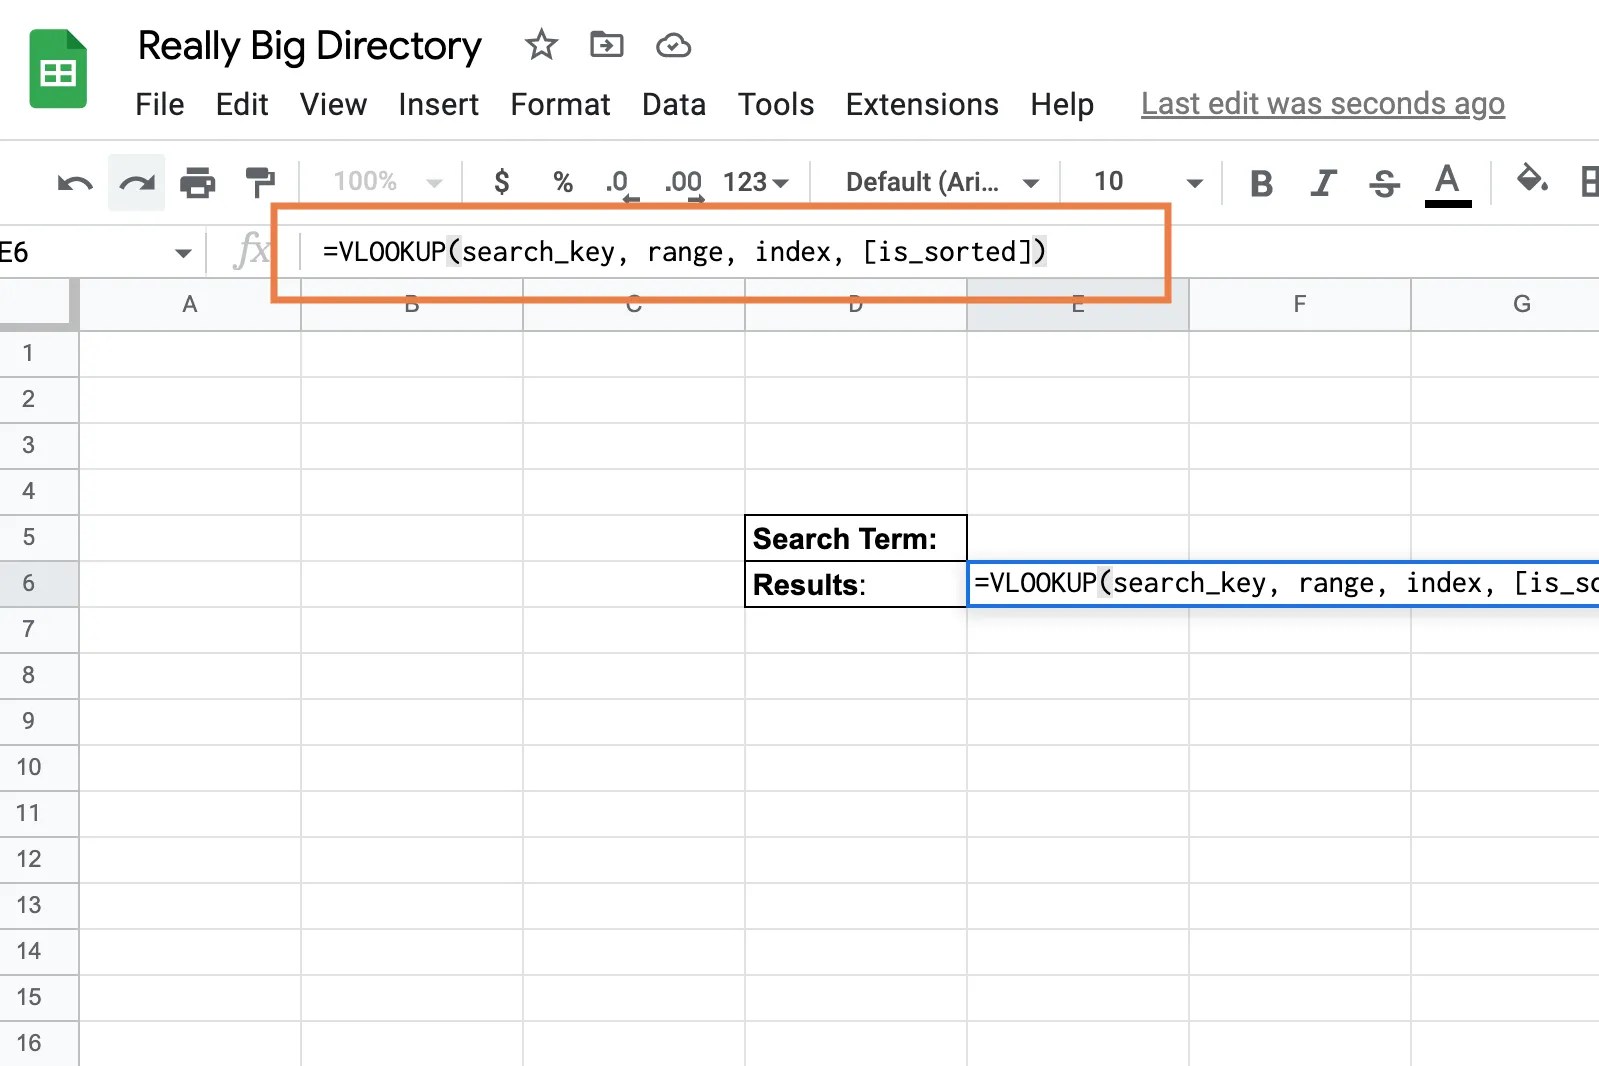
VLOOKUP allows you to create your own little search box that can return customized results from a big dataset. With the dataset open, choose the section or page where you want this search box to go. Now select the specific cell where you want the results of the search to show up.
In the function box above, you will want to insert the complete function. In Sheets, the VLOOKUP function is defined like this:

=VLOOKUP(search_key, range, index, [is_sorted])
Copying and pasting that formula directly from here will work, but you’ll still need to customize the individual parts.

Breaking down the VLOOKUP inputs
If you already have plenty of experience with VLOOKUP in Excel, the function may be all you need to know to start using it, as each piece will be familiar. But if you’re still new to the formula, let’s break each section down to show exactly what data you are asking Sheets to return.
Search_key
This represents the value that VLOOKUP will search for in the first column of the dataset range, identifying whatsort of data will be looked up. In the handy fruit example, we see that the first column is the name of the fruit, so the search cell, identified here as the cellG3, is used to search forOrange. Also, note that the cell is labeledFruit– it’s important to label yoursearch_keydata, so it’s clear how it is meant to be searched. You can also tweak thesearch_keyto look up a specific string of characters, etc., for a quick search of a particular name or code.
This section is for the upper and lower values in the search, separated by a colon, in this case,$B$4:$D$8, from one corner of the dataset to the opposite corner. You may want the range to cover your entire database in Sheets, aside from your headers. Or in some cases, you can cut out extraneous or confusing information by shortening it to a particular section of the range.
Sheets now knows where to look for a search value, and what range to search – but what specific information do you want it to bring back? Index is the return value column. Set it as a positive integer for the column number you want Sheets to bring back. Here that’s thePricecolumn. In other applications, it may be an employee ID number, student grade, or current stock prices – you get the idea. This is a good time to label your VLOOKUP search with a definition so that users understand what value is being returned.
This field is optional, but for most datasets, it’s a good idea to include it asFALSE. This will ensure that VLOOKUP returns an exact match, and produce an error message if it can’t find the information you’re looking for. If you leave it unspecified or include it asTRUE, then Sheets will allow for an approximate match, grabbing a nearby value to return. This is only useful for values that are organized in ascending order, and for certain use cases where it’s important to find the next-highest price, the closest ID number, etc. That’s a lot less common, which is why includingFALSEis a frequent choice.
Now you can copy your VLOOKUP function and use it in different locations or tweak it slightly to return different results based on different search needs.
A few final tips for VLOOKUP in Google Sheets
Depending on how often you are using VLOOKUP or what role it plays, you may want to make some additions for better clarity. That includes options like:
Keep your VLOOKUP work safe
Now that you’ve created a VLOOKUP solution, it’s also agood idea to freeze your cells, so your work remains usable. This way, anyone in your organization can use these search tools you have created, and you don’t need to worry about people accidentally messing up the formula or erasing it. Now you can apply your VLOOKUP knowledge to Google Sheets whenever you need to! But if you want to get the most out of your experience, you may want to think of upgrading to atop-of-the-line Chromebookwith lots of Ram, if you plan to work with large data sets.
